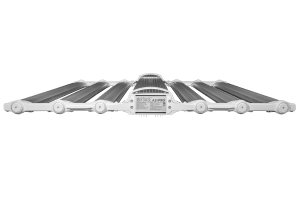

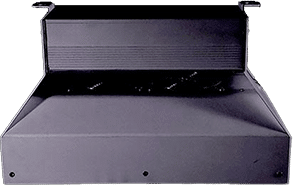


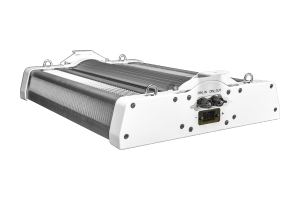


4 in 1 SENSOR PRO CONTROLLER
ULTIMATE CONTROL AND MONITORING AT YOUR FINGERTIPS
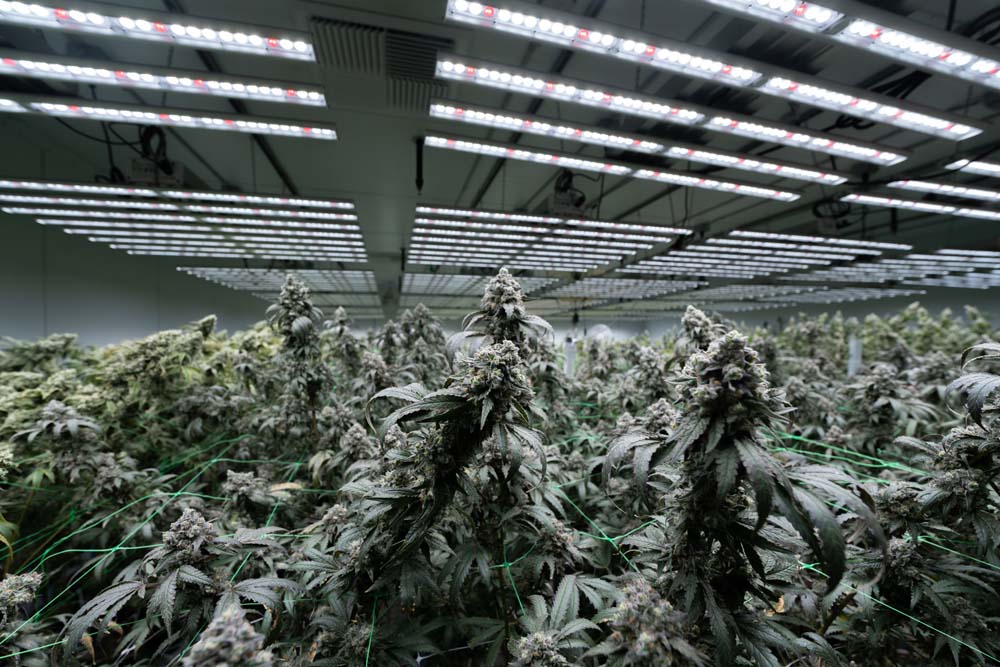
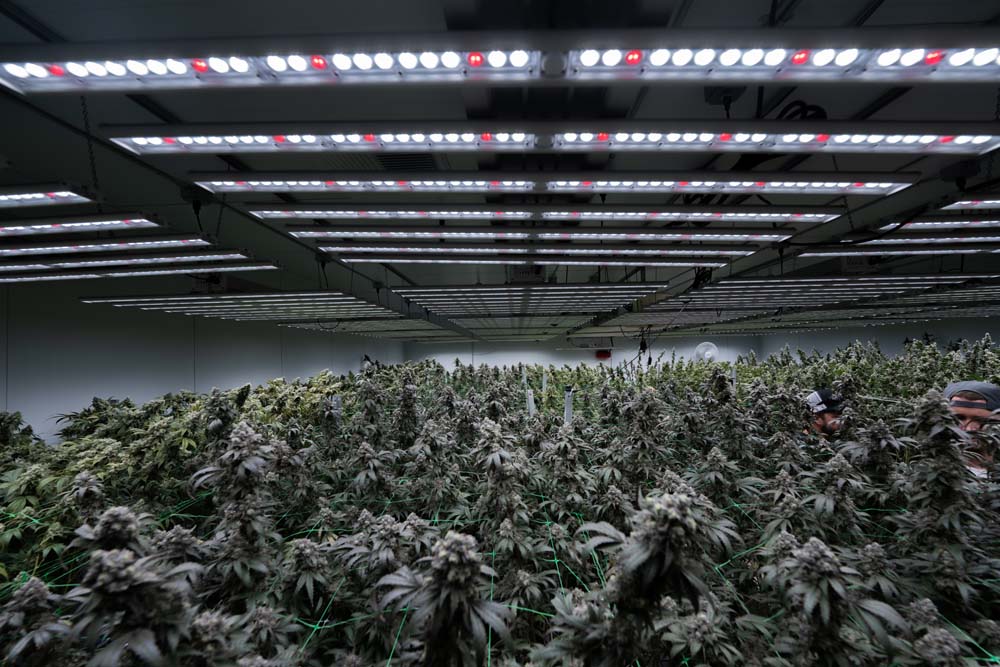
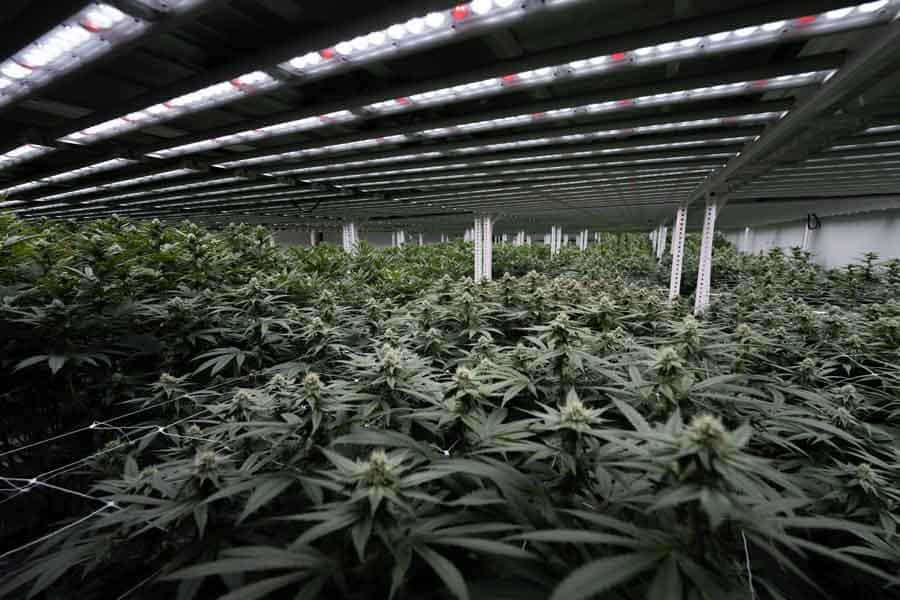
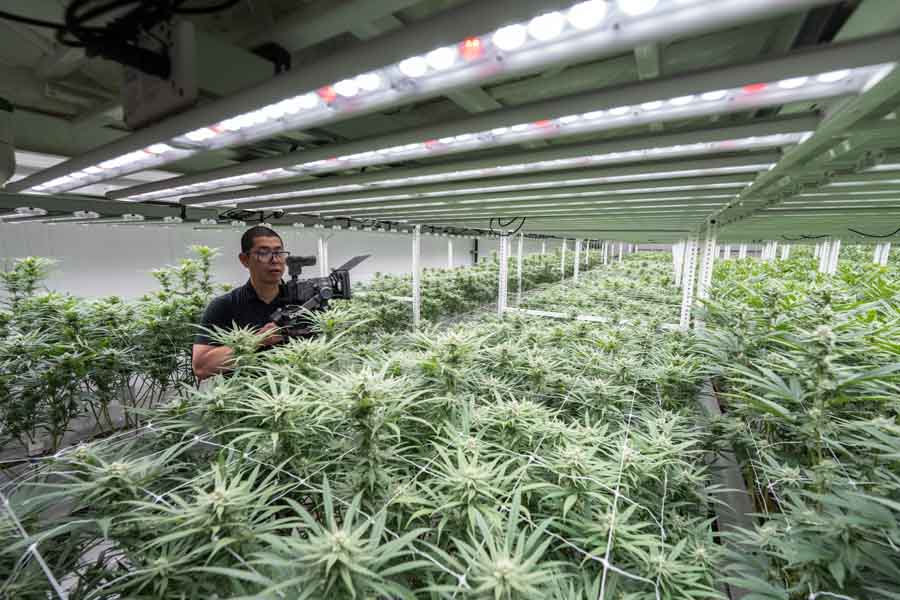
The FOHSE Pro Controller, paired with its 4-in-1 Sensor, offers advanced control over your cultivation environment, ensuring optimal plant growth and energy efficiency.
Key Features
Spectrum Control
-
Adjust individual light channels: UV (400nm), Blue (450nm), Green (520nm), Cool White (6500K), Warm White (2700K), Red (660nm), and Far Red (730nm).
-
Create and save custom light recipes tailored to different growth stages.
-
Apply unique light settings to specific zones for precise cultivation
Advanced Scheduling
-
Set event-based schedules for each zone, modifying brightness and spectrum throughout the day.
-
Utilize presets like Vegetative, Early-Flower, Mid-Flower, and Late-Flower for streamlined programming.
-
Ideal for managing multiple cultivars within a single grow space.
System Settings
-
Customize language preferences, screen modes (dark/light), time formats (12/24-hour), and time zones.
-
Rename zones and manage up to 50 sensors per controller.
-
Switch between Fahrenheit and Celsius for temperature readings.
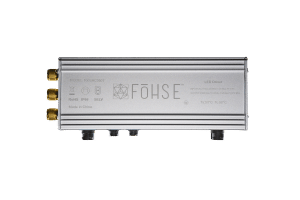
4-in-1 Sensor Integration
-
Monitor temperature, humidity, CO₂ levels, and PPFD in real-time.
-
Seamlessly integrates with the Pro Controller for comprehensive environmental control.
Benefits
-
Enhances plant health and yield through precise environmental adjustments.
-
Reduces energy consumption by optimizing light usage.
-
Simplifies complex cultivation setups with user-friendly interfaces.
For a detailed walkthrough and additional resources, fill out the form to download the full operating manual:


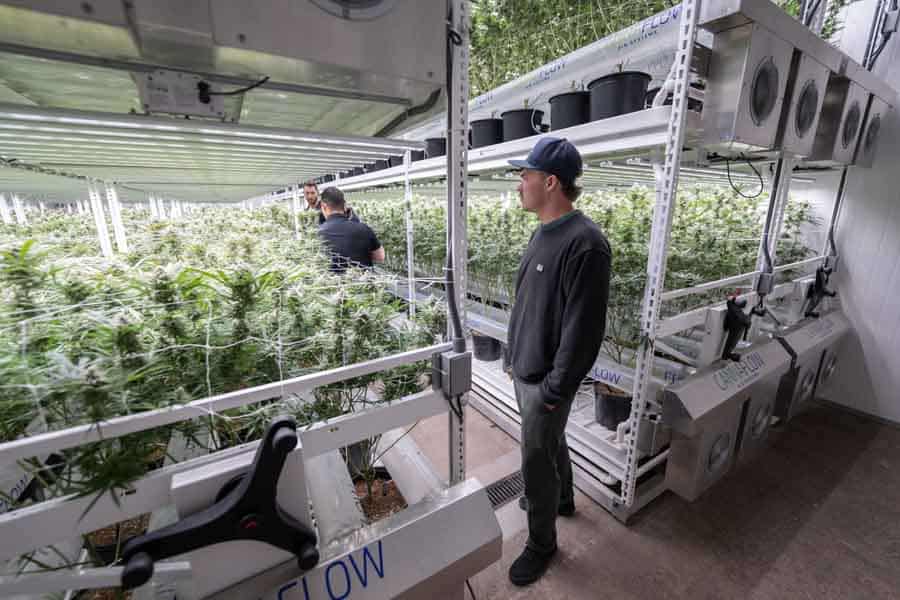
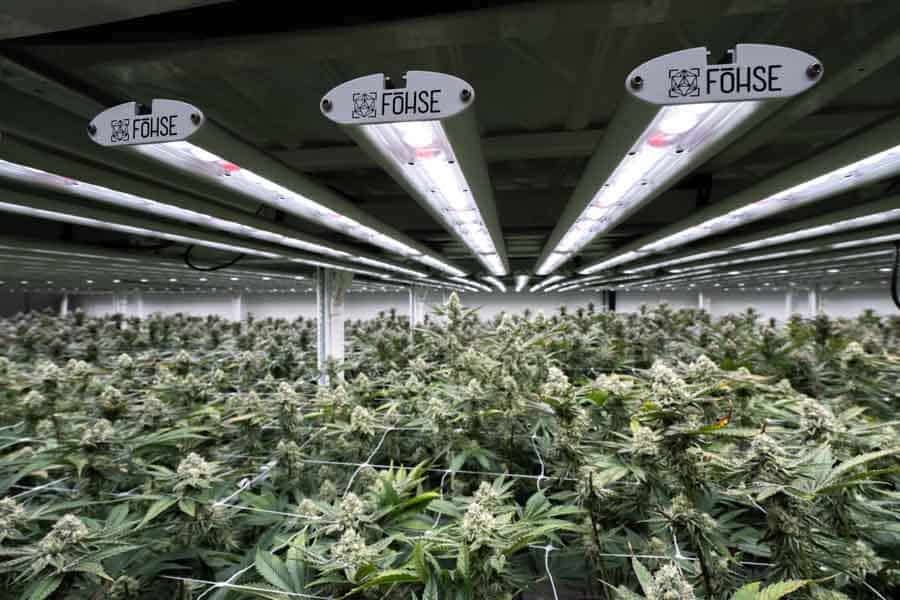
![Client [HIGH]💡 | TruInfusion | F1V](https://resources.fohse.com/wp-content/uploads/2023/10/Fohse-Tru-Infusion-19.jpg)